Seller legend now allows its users to get the data programmatically through our latest API allowing our users to incorporate SL data with their applications.
What is it for?
- API (Application Programming Interface) allows two applications to communicate.
- SL’s API will allow your application to communicate with SL.
- Your application will be able to download data from SL and use it in your application as per your requirements
Steps for setting up the API connection
- STEP 1: Register Client on SellerLegend
-
- Go to https://app.sellerlegend.com/account/developers
- Add a client to get CLIENT_ID and CLIENT_SECRET
- Please do note that guest users cannot make API Calls as registering clients on SL cannot be accessed by guest users
- STEP 2: Redirecting For Authorization
-
- SellerLegend API works on oAuth2.0 authorization pattern,
- The consuming application is supposed to request an authorization code from SellerLegend.
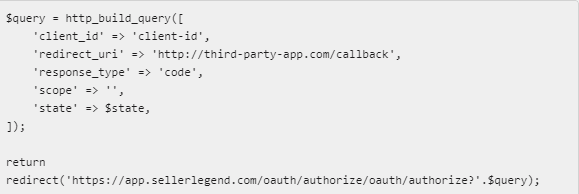
- The consuming application should make a redirect request to SellerLegend
- The redirect request is to be made on https://app.sellerlegend.com/oauth/authorize
- Use the client ID and secret generated and the redirect_uri provided at step 1.
- Please refer to the screenshot below:
- STEP 3: Approving The Request
-
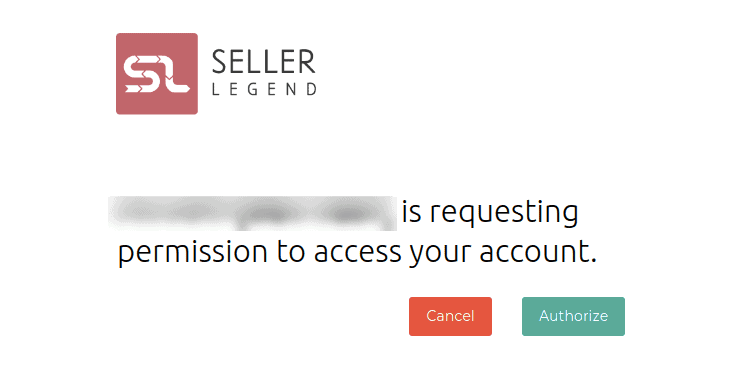
- When the SL application receives these authorization requests, it automatically displays a template to the user allowing them to approve or deny the authorization request.
-
- If you approve the request, you will be redirected back to the redirect_url that was specified by the client application.
- The redirect_url must match the redirect URL that was specified when the client was created.
- STEP 4: Converting Authorization Codes To Access Tokens
-
- If the user approves the authorization request, they will be redirected back to the consuming application.
- The consumer should first verify the state parameter against the value that was stored prior to the redirect.
- If the state parameter matches then the consumer should issue a POST request to SellerLegend to request an access token.
- The request should include the authorization code that was issued by SellerLegend when the user approved the authorization request.

-
- This /OAuth/token route will return a JSON response containing access_token, refresh_token, and expires_in attributes. The expires_in attribute contains the number of seconds until the access token expires.
- Auth-code expires in 10 minutes and is valid for one-time use
- Access-token expires in 15 days and/or with the creation of a new one
- Refresh-token expires in 30 days and/or with the creation of a new one
- This /OAuth/token route will return a JSON response containing access_token, refresh_token, and expires_in attributes. The expires_in attribute contains the number of seconds until the access token expires.
What to do next?
Here are some tips after you have completed setting up the connection.
- Please follow the postman link below, to have details on all available API endpoints and their usage:
- If you’re a PHP Developer, here’s the link to SellerLegend official SDK (Library), to make integration easier for you:
- For examples please follow
- For mocked responses please follow
- Official SDK is also installable as a composer package, here’s the link: