How To Get Here?
- From the Menu
- Settings –> Time Periods
What is it for?
- Say you have products that you see on a seasonal basis? Like for example you only sell scarfs in winter, because the last thing anybody needs is a scarf on a scarf during a heatwave!
- So, to see how well you did during a certain period you can set a custom date range for that period avoiding the weary and repetitive procedure of selecting a certain date range again and again.
Tips and Tricks
- Set this for seasonal periods e.g winter season to see how well you did
- Set it for flash sales/large discounts
Screen Print
How To Add A Custom Time Period?
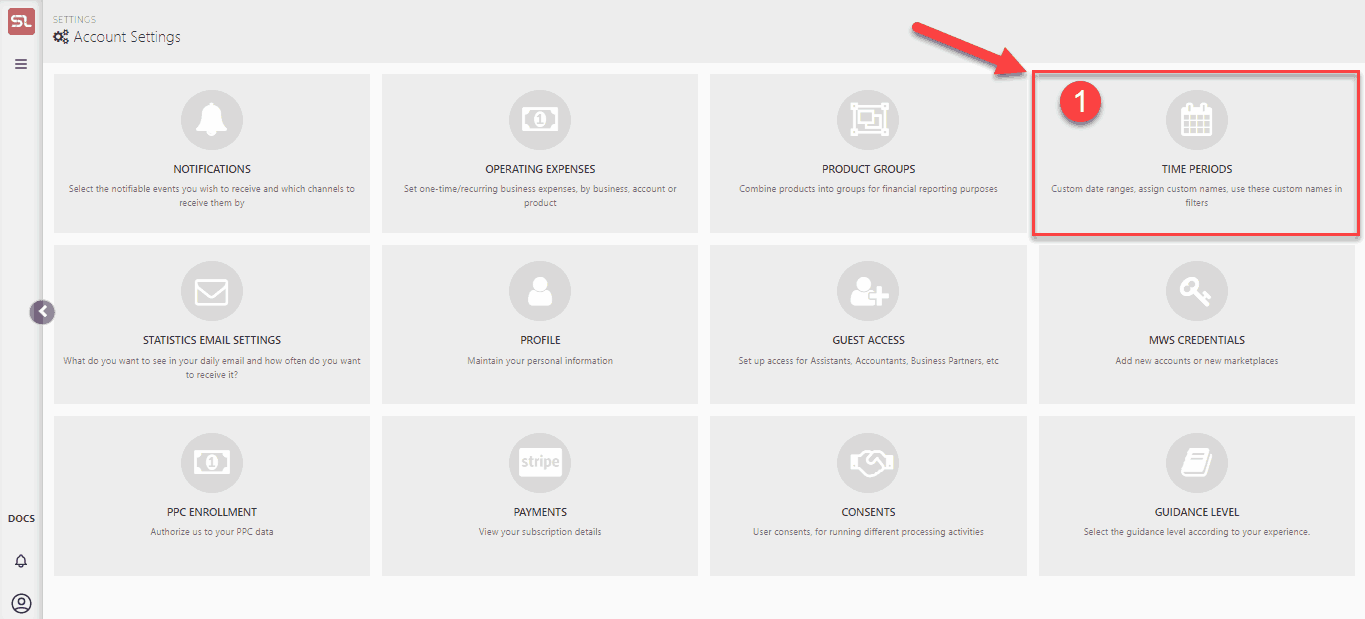
- Step 1: Go to Settings and select Time Periods
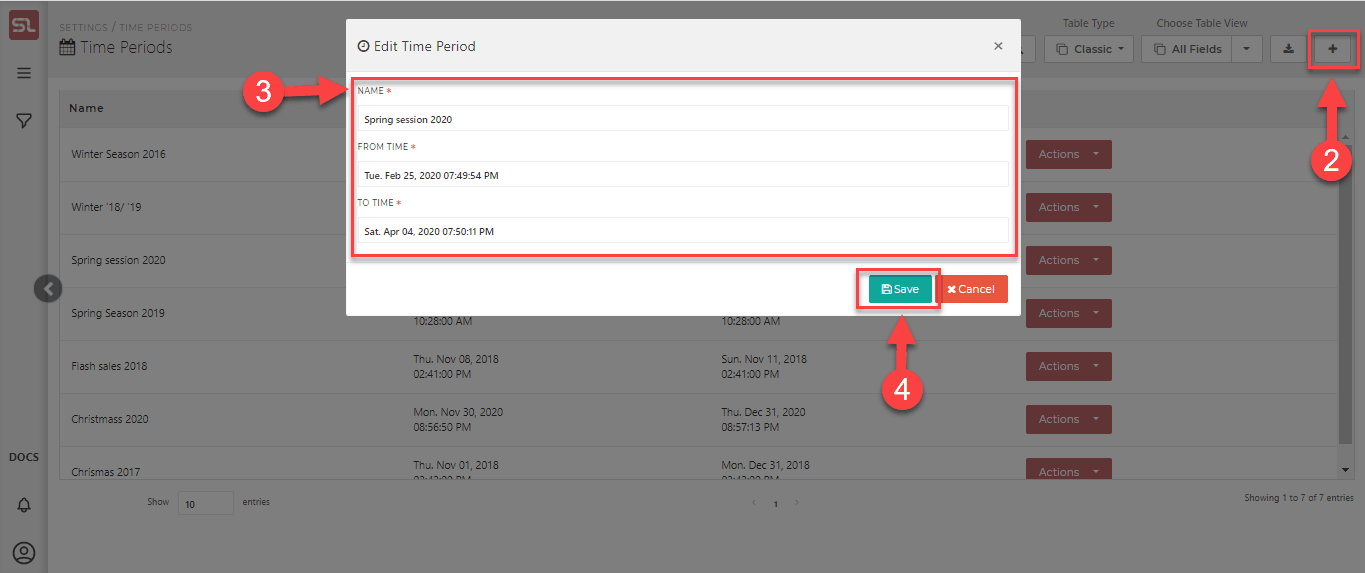
- Step 2: Click on the Plus + sign on the top right side of the screen
- Step 3: Enter Name, From time To time.
- Step 4: Click on the Save button
- At this point, you are basically done, except waiting a while till it takes effect
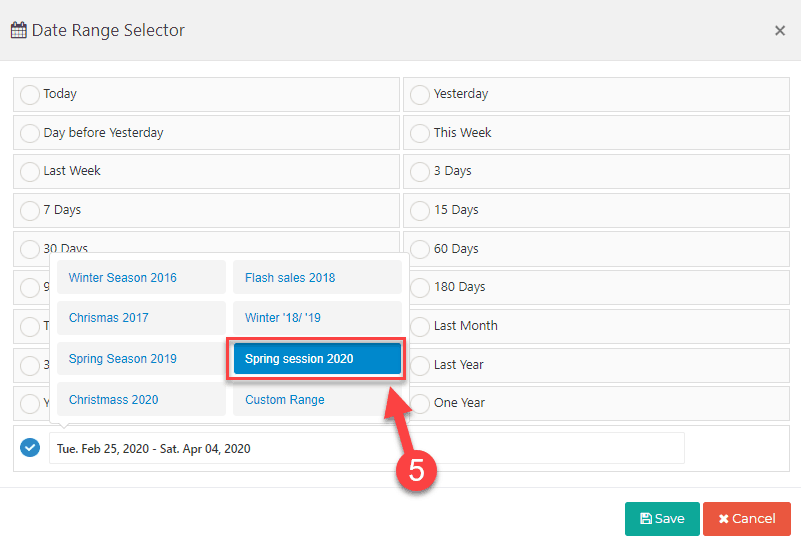
- Step 5: Once a Time period is created you can select that time period from the date range selector.
How do I use it?
That’s even easier:
- Go to any screen e.g Sales Statistics
- Click on the date range selector
- Go to the bottom and click on the custom date range
- You will see all the custom date ranges you have created along with the option to set a date range then and there
- Select the custom date range you need and you will avoid doing it manually every time you need that specific range
Edit/Delete custom date range
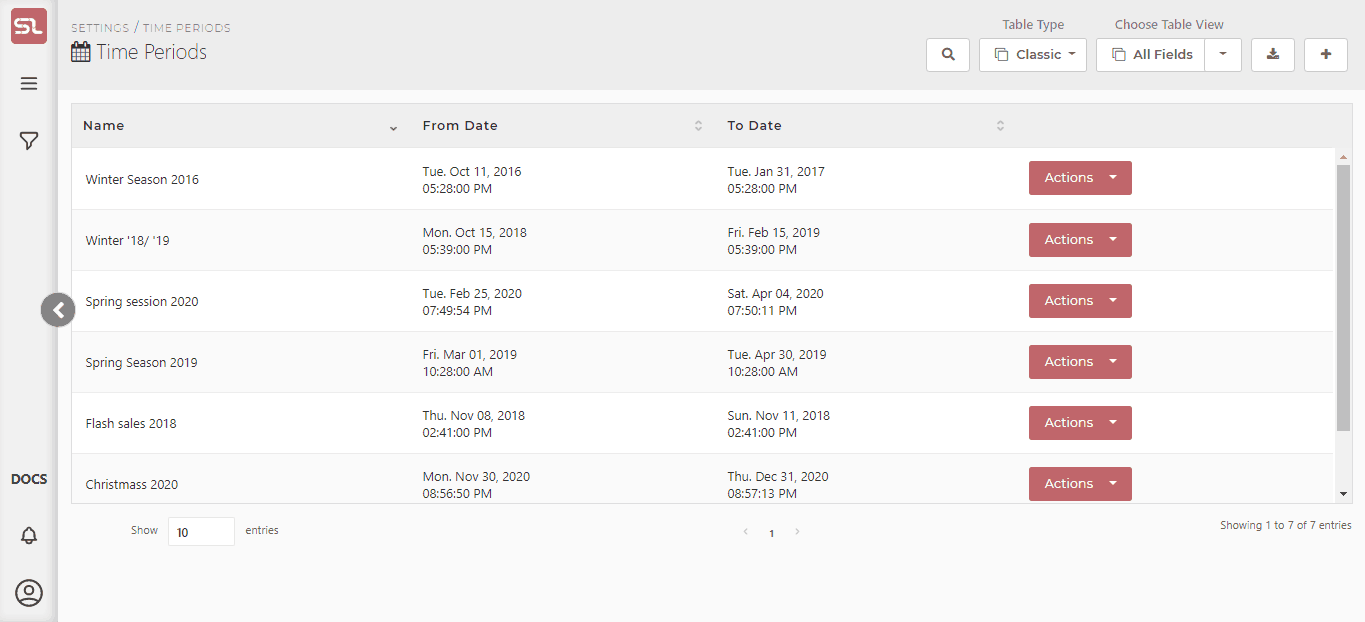
- Go to Settings->Time Periods
- A list of all custom date ranges will appear
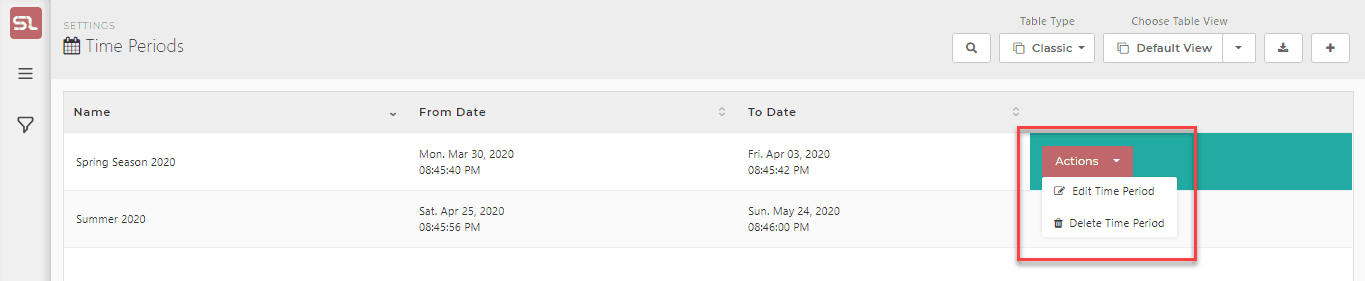
- Find the date range you want to edit/delete and click on the Action button
- You will find two options in the drop-down menu i.e Edit and Delete
- Simply click on edit to change the name/time period of the custom date range you want
- Or click delete to remove a custom date range